Make Spreading Boards
By Jeff Smith
How to make Spreading Boards for spreading the wings of butterflies, moths, and other insects where it is desirable to have at least one side of the wings flattened horizontally. Other kinds of insects may be dragonflies, caddisflies, praying mantids, large planthoppers, grasshoppers, or even some wasps and bees. Images and text by Jeff Smith.
Step 1
Step 2
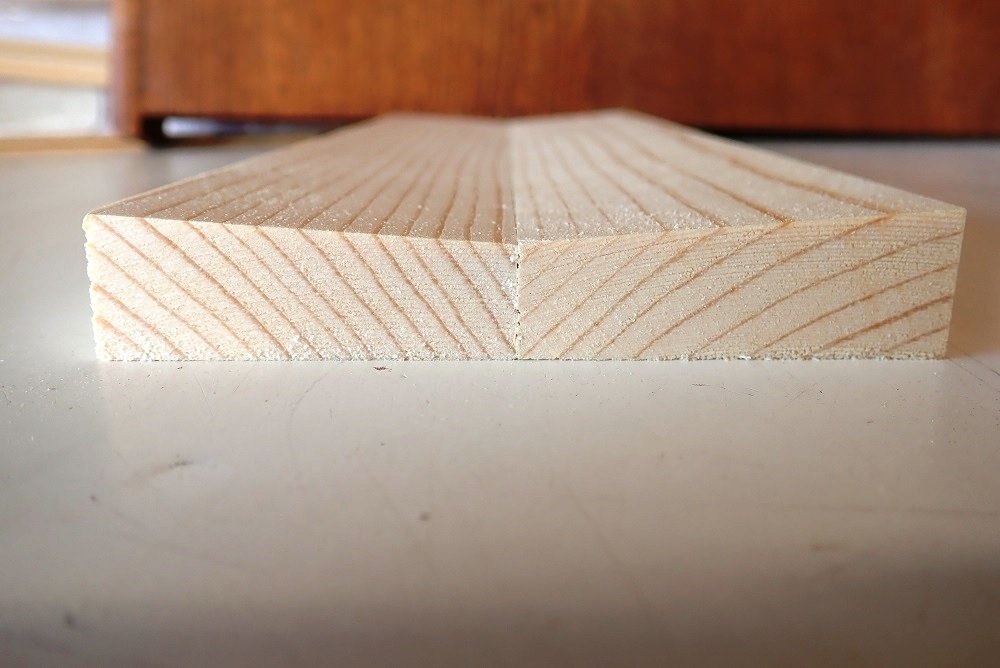
The length of each board should be about 11.75 inches. This is by design, as I use standard wax paper over the wings and that paper is exactly 12 inches wide. When cut into strips this will leave a ¼ inch overhang at the bottom of the board that you can easily use to lift the paper when spreading the insect’s wings.
Step 5
Step 8
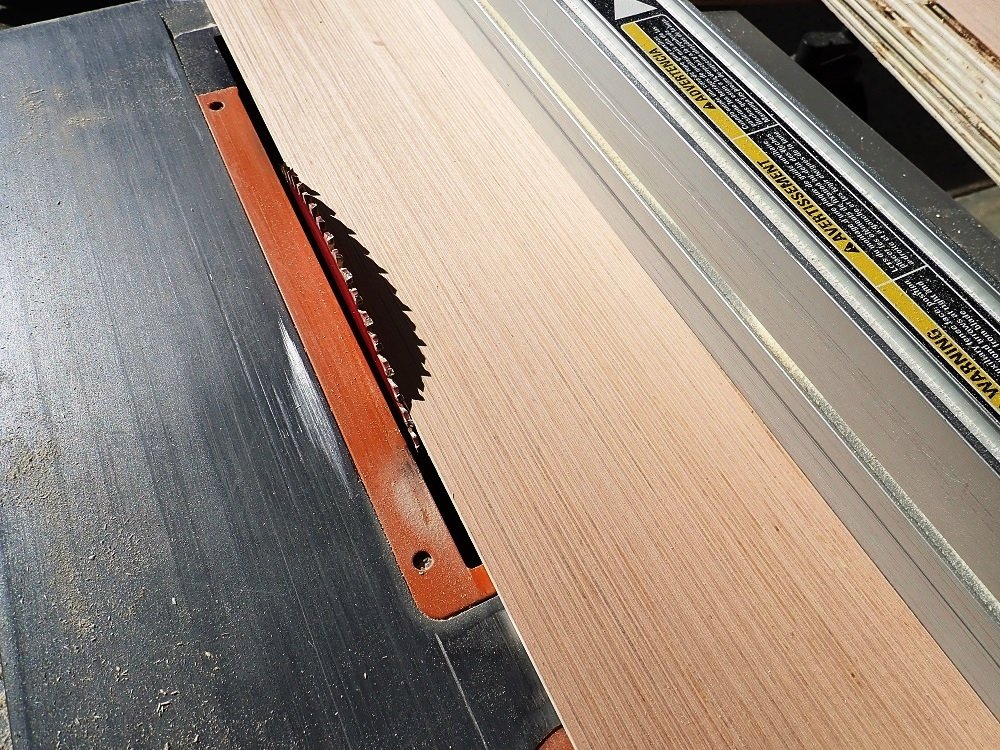
Now we cut the bottoms for each spreading board. This is a great time to use up scrap 3/16” plywood you may have lying around, which I create when making insect drawers (see that “How To” lesson on this website as well). The bottom piece will be exactly the width that you want the finished spreading board to have.
Step 9
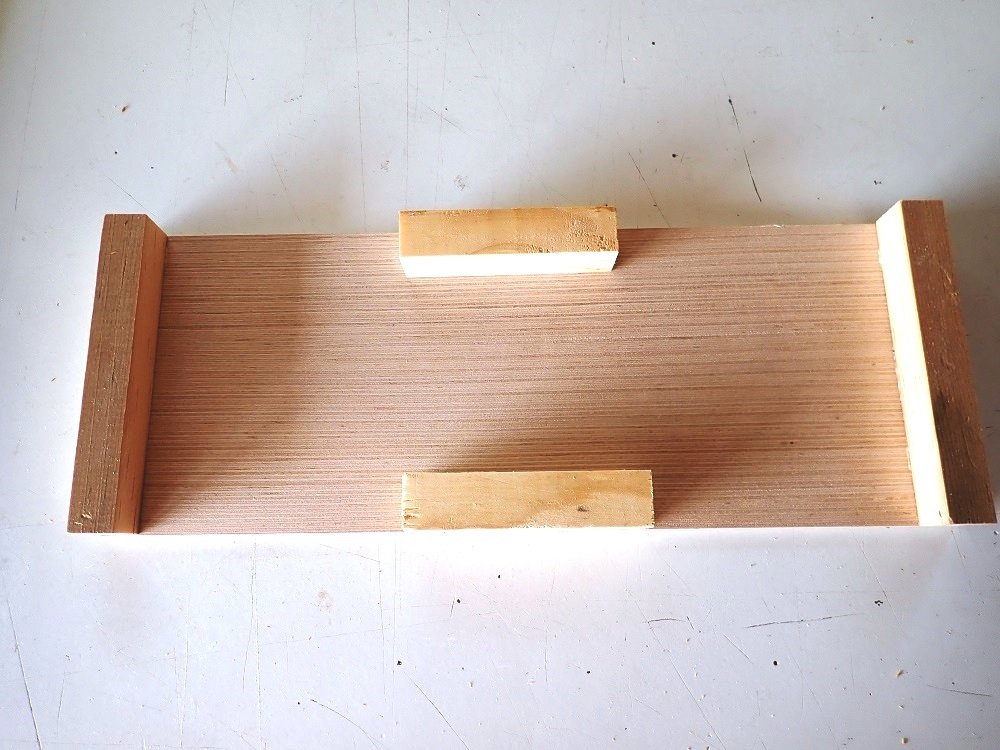
We next cut each bottom to the exact same length as each of the top pieces. I use a power miter-box saw for this for accuracy and speed. Note on the left of the bottom piece is a block that is part of the template I use for making repetitive cuts-to-length of top pieces and bottoms, since I often make several dozen spreading boards at a time.
Step 11
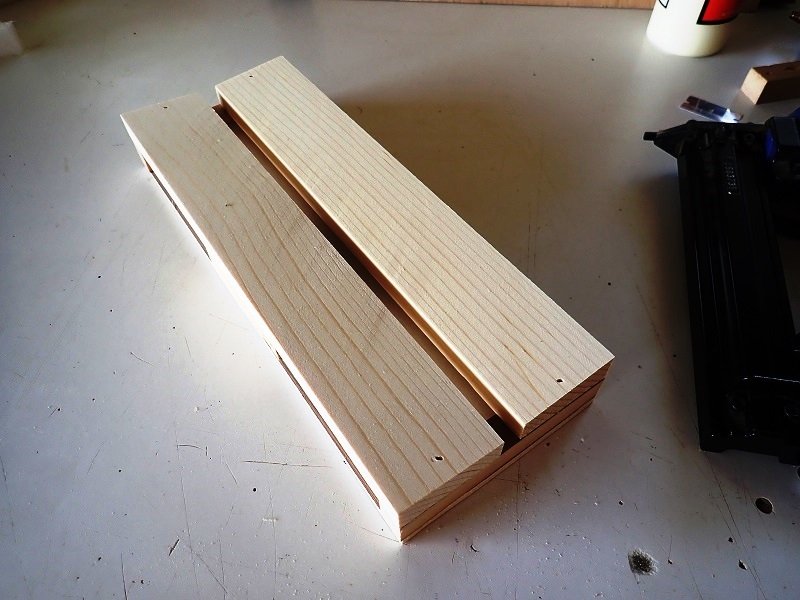
Note that on a finished spreading board there is a piece of wood between the tops and the bottom. The height of this piece of wood establishes how far down the pin can go when placing the specimen on the board. I find that a small piece ¾ inch high is perfect, and it’s another way to use up leftover scraps of wood.
Step 13
Step 15
Step 23
Step 28
I switch to 1” brads (or nails if that is what you are using) and nail down through the top pieces into the spacers below.
Hint : with the nail gun no drilling is needed, but if you use a hammer and nails it pays to drill a hole for the nail, as this will prevent splitting of the wood at the ends.
Step 32
The final step before actually using the boards is to cut the wax paper that will lay over the tops of the wings of the insect you are working with. I bought some rolls of paper from a supplier that was “meant” for this use and threw it all away, finding it more difficult to work with than plain old wax paper (a buck a box at “dollar” stores).
Hint : standard, inexpensive wax paper is nearly clear, allowing you to see the wings through it while moving them into position.
Step 33
Step 34
When using a “probe” to move the insect’s wings into position this space next to the edge of the paper allows you to “grab” the wing, at a strong wing vein, without having to maneuver the tip of the probe under the paper. This is a huge time saver and improves accuracy.
Hint : I use one long strip of paper down the length of the board, rather than small strips placed over individual wings, as you often see depicted in tutorials on “spreading”.


